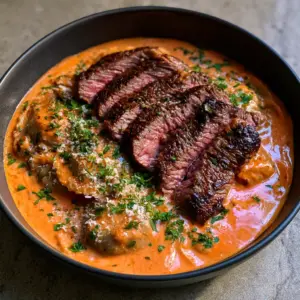
Crock Pot Cheesesteak Tortellini is the ultimate comfort food fusion that brings the iconic flavors of a Philly cheesesteak into a slow cooker masterpiece. This recipe combines tender, seared beef steak strips with plump cheese tortellini, all smothered in a thick, velvety cream cheese and provolone sauce.
If you are looking for a meal that delivers restaurant-quality results with minimal effort, this dish is your new weeknight hero. The slow cooking process allows the green bell peppers, red onions, and brown mushrooms to soften perfectly, infusing the glossy sauce with savory depth. Every bite of this Crock Pot Cheesesteak Tortellini is packed with cracked black pepper and melted cheese, creating a visual and culinary experience that will have your family asking for seconds.
Why You Will Crave This Slow Cooker Philly Pasta
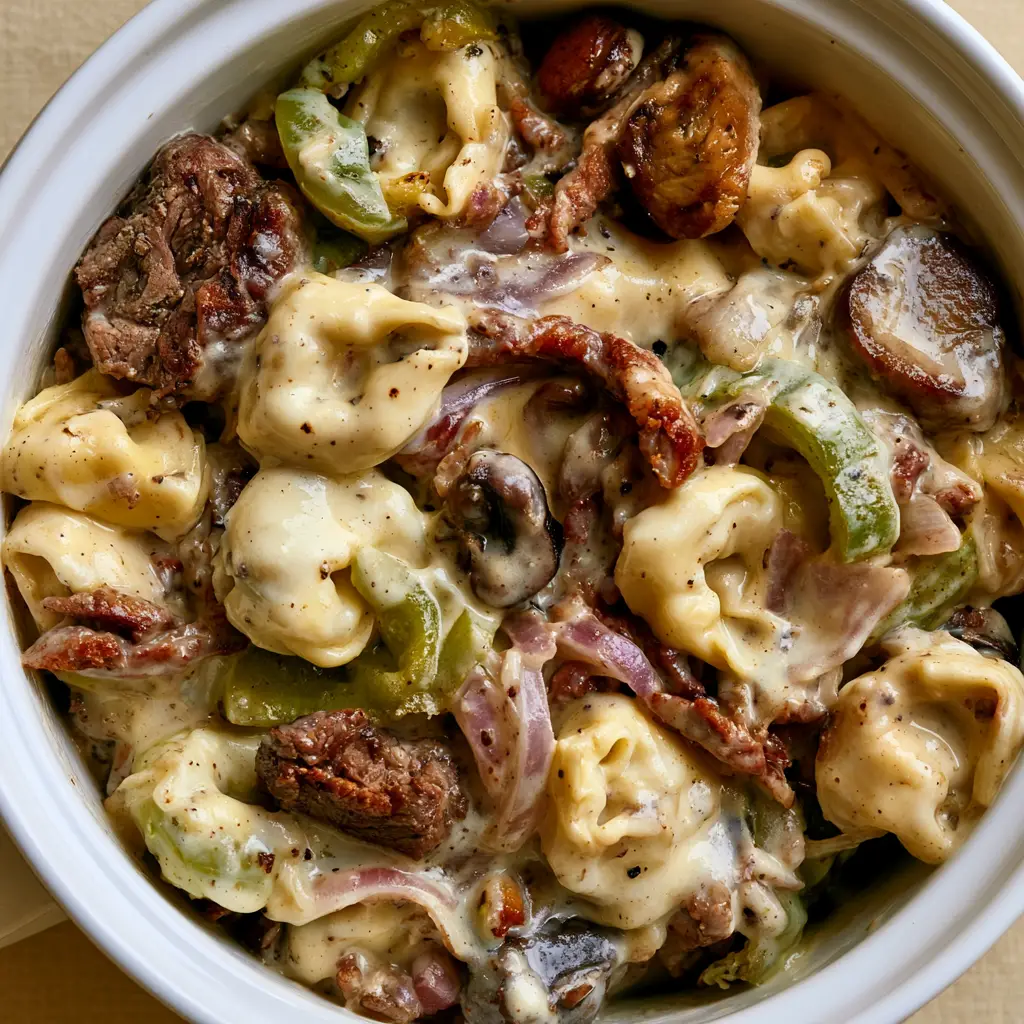
- Perfectly Seared Textures: Unlike many slow cooker meals, we sear the beef first to ensure a browned, caramelized exterior that contrasts beautifully with the tender pasta.
- Glossy, Thick Sauce: The combination of cream cheese and provolone creates a heavy, silk-like coating that clings to every ridge of the tortellini.
- Vibrant Vegetable Mix: Sliced brown mushrooms and translucent red onions provide a savory, earthy backbone that balances the richness of the cheese.
- Effortless Elegance: It looks like a gourmet meal from a high-end bistro but requires very little hands-on time.
If you love creamy, beef-forward pasta dishes, you should also check out my Creamy Garlic Parmesan Beef Bowtie Pasta for another easy weeknight winner.
The Essential Ingredients for Success
To achieve the specific look and taste of this Crock Pot Cheesesteak Tortellini, each ingredient plays a critical role in the final texture.
1. Beef Steak Strips: 1.5 lbs (680g) of top sirloin or ribeye, sliced thin. Using a high-quality cut ensures the meat stays tender during the slow cooking process.
2. Refrigerated Cheese Tortellini: 19 oz (540g) package. Fresh or refrigerated tortellini holds its shape better than dried versions in the crock pot.
3. Green Bell Peppers: 2 large (300g), sliced into thin strips. These provide the classic “Philly” aroma and a pop of color.
4. Red Onions: 1 medium (150g), sliced into half-moons. Red onions offer a subtle sweetness and become beautifully translucent when cooked low and slow.
5. Brown Mushrooms (Cremini): 8 oz (227g), sliced. Mushrooms add a “meaty” umami flavor that elevates the beef broth base.
6. Beef Broth: 1 cup (240ml). This serves as the braising liquid for the beef and vegetables before the cheese is added.
7. Cream Cheese: 8 oz (226g) block, softened. This is the secret to the thick creamy cheese sauce that Pinterest users love.
8. Provolone Cheese: 1.5 cups (170g) shredded or torn. Provolone provides that authentic cheesesteak tang and a perfect melt.
9. Garlic & Spices: 3 cloves minced garlic, 1 tsp (5g) salt, and 1 tbsp (7g) cracked black pepper. The pepper specks are vital for the visual blueprint.
For a different twist on slow-cooked poultry, my Slow Cooker Creamy Ranch Chicken offers a similarly comforting flavor profile.
Step-by-Step Instructions
1. Searing the Beef for Maximum Flavor
Heat 2 tablespoons (30ml) of olive oil in a large skillet over medium-high heat. Pat your beef strips dry with a paper towel. This is crucial for a good sear.
Add the beef to the hot pan in a single layer. Season with half of the salt and cracked black pepper. Sear for 2-3 minutes until a browned, caramelized crust forms. Do not cook them through; we just want the color. Transfer the beef and all the pan juices into the slow cooker.
2. Prepping the Vegetable Base
In the same skillet (don’t wash it!), add the sliced green bell peppers, red onions, and brown mushrooms. Sauté for 3-4 minutes just until the onions start to soften.
Scrape the bottom of the pan to release any browned bits (fond) and transfer the vegetables into the crock pot. Add the minced garlic and pour in the 1 cup (240ml) of beef broth.
3. The Low and Slow Braise
Cover the crock pot and cook on LOW for 3 to 4 hours. You want the beef to be fork-tender and the vegetables to be softened but not mushy. The aroma in your kitchen at this stage will be incredible.
4. Creating the Glossy Cheese Sauce
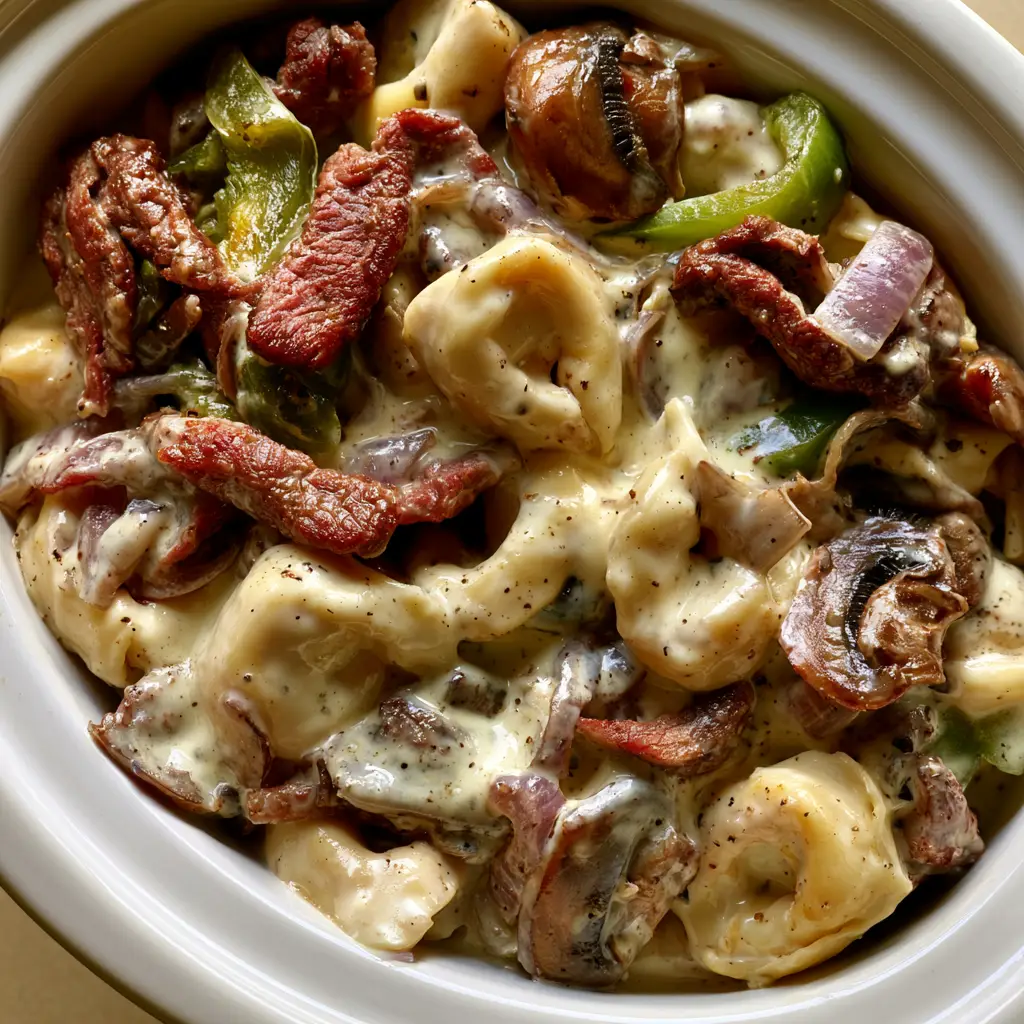
Open the lid and stir in the softened cream cheese and shredded provolone. Whisk gently until the cheeses have melted into the beef broth, creating a thick, pale, and glossy sauce.
Add the remaining cracked black pepper. The sauce should be visible and generously coat the back of a spoon.
5. Folding in the Tortellini
Gently fold in the 19 oz (540g) of refrigerated cheese tortellini. Ensure every pasta piece is submerged in the sauce. Cover and cook on HIGH for 15-20 minutes, or just until the tortellini is plump and tender.
If you prefer a one-pot method on the stove, you might enjoy the process of making One-Pot Chicken Parmesan Pasta.
Expert Tips for the Perfect Crock Pot Cheesesteak Tortellini
- Room Temp Cheese: Always use room temperature cream cheese. This prevents the sauce from looking “broken” or curdled and ensures a smooth, glossy finish.
- Don’t Overcook the Pasta: Tortellini cooks very fast in a slow cooker. Start checking at the 15-minute mark to ensure they remain “al dente” and don’t become soggy.
- Beef Selection: If you use flank steak, slice it against the grain. This ensures the beef strips remain tender rather than chewy.
- Pepper is Key: Use freshly cracked black pepper rather than fine ground pepper for those distinct black specks that pop against the white sauce.
Storage, Reheating & Freezing
Storage: Place leftovers in an airtight container and refrigerate for up to 3 days. The sauce will thicken as it cools.
Reheating: The best way to reheat Crock Pot Cheesesteak Tortellini is on the stovetop. Add a splash of beef broth or milk to loosen the sauce and heat over low until creamy again.
Freezing: I do not recommend freezing this dish, as the cream-based sauce and the tortellini texture can change significantly upon thawing.
What to Serve With This Dish
Because this recipe is so rich and decadent, I recommend pairing it with something bright and crisp. A simple arugula salad with a lemon vinaigrette works wonders.
For a side of vegetables, try my Roasted Zucchini and Squash. If you want to lean into the comfort food theme, a side of Sourdough Discard Flatbread is perfect for mopping up that extra provolone sauce.
Frequently Asked Questions
You can prep the beef and vegetables ahead of time, but the pasta is best served immediately. If made too far in advance, the tortellini will continue to absorb the sauce and may become soft.
Yes, you can use frozen tortellini! Simply add them directly to the slow cooker at the end. They may need an extra 5-10 minutes of cook time compared to refrigerated tortellini.
To ensure a smooth, glossy sauce, make sure your cream cheese is softened to room temperature before adding it. Also, avoid cooking the sauce on High for too long, as extreme heat can cause dairy to break.
Top sirloin or ribeye are the best choices. They are tender enough to withstand the slow cooking process while maintaining a great beefy flavor. Always sear them first for the best texture!
The Ultimate Crock Pot Cheesesteak Tortellini Recipe
Crock Pot Cheesesteak Tortellini with Glossy Provolone Sauce
Ingredients
Equipment
Method
- Heat oil in skillet and sear beef strips until browned. Transfer to slow cooker.
- Sauté peppers, onions, and mushrooms for 4 minutes. Add to slow cooker with garlic and broth.
- Cover and cook on LOW for 3-4 hours until beef is tender.
- Stir in cream cheese and provolone until a glossy sauce forms. Add black pepper.
- Fold in tortellini and cook on HIGH for 15-20 minutes until plump.
Notes
Do not overcook the tortellini or they will become mushy.
Share Your Masterpiece!
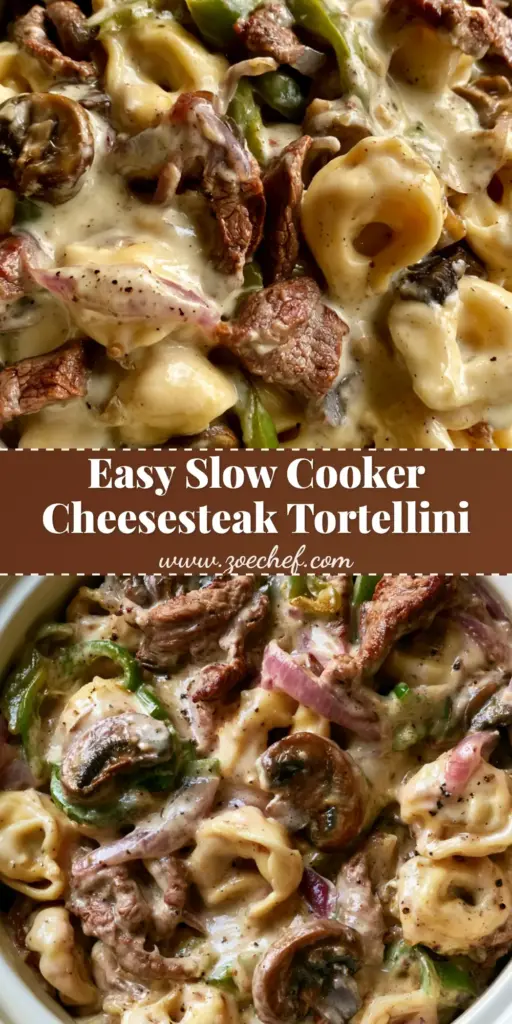
Did you make this Crock Pot Cheesesteak Tortellini? I would love to see how your glossy sauce and seared beef turned out! Please save this recipe to your Pinterest Dinner Board so you never lose it.
Follow me at @zoe_chef_Official for more viral slow cooker recipes. Don’t forget to leave a 5-star rating below and upload a photo of your dish in the comments—it helps other home cooks find success!